
Knife guides
Sharpening a Japanese Chef Knife
September 28, 2026
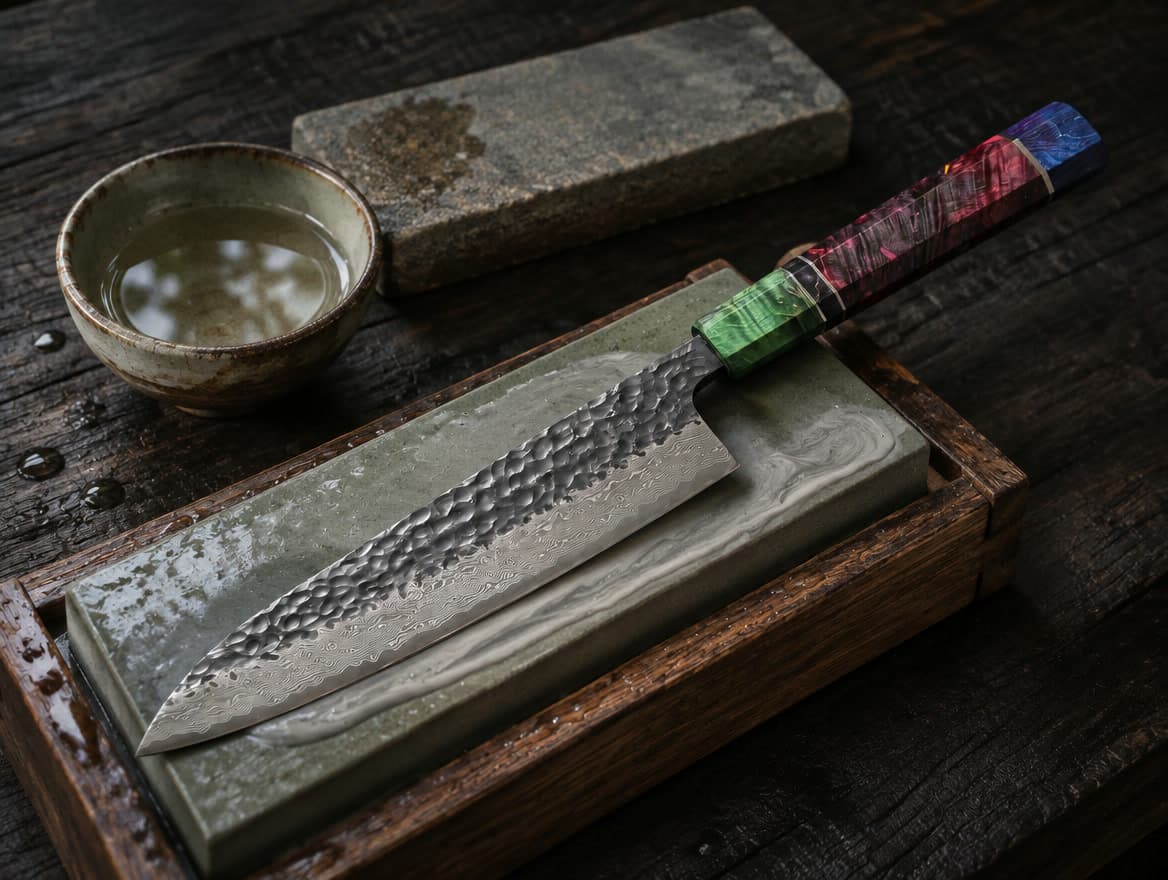
Compared with most Western kitchen knives, a Japanese chef knife has a thinner, harder edge, and that edge pays off with a slightly different routine. Once you know which angle to hold and which stone to use, sharpening at home takes roughly a quarter of an hour and turns into an easy habit instead of a job you put off for months.
In brief: reach for a whetstone, not a pull-through sharpener or a ridged honing steel. Hold the blade at roughly 15 degrees, work each side on a 1000 grit stone until you can feel a small burr, then polish with lighter strokes on a 3000 to 6000 grit stone.
Why a Japanese edge calls for a different method
A Gyuto or Santoku is ground thin just behind the edge, and its steel is hard. HOSHIGANE knives have a VG-10 core hardened to 60 ±2 HRC, wrapped in 67 layers of Damascus cladding. That pairing lets the blade glide through food and hold its sharpness for a long time, but it also makes the edge finer and less flexible than a softer Western blade.
Two familiar tools work against that edge. A pull-through sharpener is usually set to the wider angle of Western knives, so it grinds a thin Japanese edge into the wrong shape. A ridged honing steel can chip or roll a hard edge rather than straighten it; for a quick touch-up between sharpenings, a fine ceramic rod or a leather strop, used with a light hand, is the safer option.
A whetstone, used by hand at the correct angle, takes off a little steel evenly and preserves the geometry the knife was made with. Our Japanese Knife Steel Guide explains how hardness and angle are linked.
Which angle to hold
Each HOSHIGANE knife comes with a 12 to 15 degree edge on each side, finished by hand. At home, aim for around 15 degrees and you will match it closely. Holding one steady angle from heel to tip counts for more than an exact figure: a wavering angle leaves an uneven, rounded edge.
A simple way to judge 15 degrees by eye: stand the blade straight up on the stone at 90 degrees, tilt it halfway to 45, then halfway again to about 22, and lower the spine a touch more. A clip-on angle guide on the spine helps a lot during your first few sessions.
Picking your whetstone grit
Whetstones are rated by grit number: a lower number means a coarser stone that takes off more steel.
GRIT
ITS JOB
WHEN TO REACH FOR IT
220 to 400
Fixes chips and badly dulled edges
Just for chips or damage
800 to 1000
Your main stone: puts on a fresh edge
Once the edge stops biting
3000 to 6000
Polishes and takes off the burr
After the 1000 stone, or for a light touch-up
A pair of stones, one near 1000 grit and one between 3000 and 6000, handles almost everything a home kitchen needs. A combination stone, 1000 on one side and 6000 on the other, is a simple way to begin.
What you will need
- A medium stone near 1000 grit and a fine stone of 3000 to 6000 grit.
- A non-slip base: a stone holder, or a damp tea towel folded beneath the stone.
- A small bowl of water to keep the surface of the stone wet as you work.
- A clean, dry towel to wipe the blade at the end.
Sharpening on a whetstone, step by step
- Get the stone ready. Soaking stones need 10 to 15 minutes in water, until bubbles no longer rise. Splash-and-go stones just need a wet surface. Follow the maker's instructions for your stone.
- Make the base steady. Set the stone on its holder or a damp tea towel, coarse side up, long side towards you. It must not shift while you work.
- Grip the knife. Hold the handle in your dominant hand, edge pointing away from you. Place two or three fingertips of your other hand on the flat of the blade, well back from the edge, to guide light, even pressure.
- Set your angle. Lower the blade to roughly 15 degrees and lock your wrist so the angle holds steady through each stroke.
- Sharpen the first side section by section. Work the heel, then the middle, then the tip, with 10 to 20 smooth strokes on each part, pressing slightly on the forward stroke and relaxing on the return. At the curved tip, raise the handle a little so the edge stays flat to the stone at the same angle.
- Check for the burr. On the opposite side of the blade, slide your thumb lightly from the spine down to the edge and off it, never along it. A faint rough lip running the full length means that side is finished.
- Turn over and repeat. Flip the knife and sharpen the second side the same way, at the same angle and with about the same number of strokes, until a burr forms on the first side.
- Polish on the fine stone. Go over both sides again on the 3000 to 6000 grit stone with lighter pressure. End with a few single strokes, alternating sides, with almost no pressure to take off the burr.
- Clean up. Hand wash the blade in warm water with mild soap, then dry it thoroughly. Rinse the stone and leave it to air dry away from direct heat before storing it.
Safety note: always keep your guiding fingers on the flat of the blade, behind the edge, and work slowly: speed adds nothing to sharpness. Never check the edge by running a finger along it, and wipe the blade from the spine with the edge facing away from your hand.
Checking the edge
Hold a sheet of printer paper by a corner and slice downward into it. A sharp Japanese edge goes through cleanly with hardly any pressure. In the kitchen, a ripe tomato is the test: the blade should catch the skin without you pushing down. If the edge snags at one spot, give that section a few more light passes on the fine stone.
Knowing when to sharpen
Let feel, not the calendar, tell you when to sharpen. The signs: the blade slides off tomato skin instead of biting in, onions get crushed instead of sliced, or you catch yourself pressing harder than you used to. For many home cooks who cook most days, that means a full session on the stones every few months, though your own knife, board and cooking set the timing.
Between sessions, a fine ceramic rod or a leather strop can refresh the edge: a few light strokes per side at the edge's own angle, with almost no pressure. Once a gentle strop no longer restores the bite, return to the whetstone.
How long the edge lasts comes down to your chopping board and everyday care. Wood and plastic boards are gentle on it, whereas glass, stone and ceramic blunt it quickly. Washing by hand and drying immediately after use help as well; see How to Care for a Japanese Knife for the full routine.
Mistakes to steer clear of
- Pushing too hard. Heavy pressure tears the fine edge and wears the stone unevenly. Let the stone carry the work.
- Shifting the angle mid-stroke. A rocking wrist rounds off the edge. Keep the wrist locked and move from the shoulder.
- Moving on before the burr appears. If no burr runs the full length, you have not reached the edge yet.
- Working on a dished stone. Over time a whetstone wears into a shallow hollow. Flatten it every few sessions with a flattening plate so the angle stays true.
How to keep your HOSHIGANE knife sharp
All HOSHIGANE knives share one VG-10 core and one 12 to 15 degree edge, so the routine above applies across the range, from an everyday Gyuto to a Santoku or a Nakiri. Master one angle and one set of stones, and you can keep every knife in your block sharp.
SHOP THE GUIDE
GYUTO CHEF KNIVES
Free delivery across the UK · 30 days to return